About Transponders
The 405 Express Lanes operates with a state-of-the-art electronic toll collection system which requires a FasTrak® transponder.
The transponder-based system allows travel without stopping to pay a toll at a toll booth. FasTrak® transponders are required for customers to use the express lanes.

Transponders
The 405 Express Lanes offers three types of transponders. Based on your vehicle type, either an interior- or exterior-mounted FasTrak® sticker transponder will be provided with your account at no charge. Take advantage of carpool discounts, a switchable transponder is required and can be purchased through the 405 Express Lanes for $15.
If you have an existing transponder and an active account from any toll agency in California, you can use your FasTrak® transponder on any toll road in California.
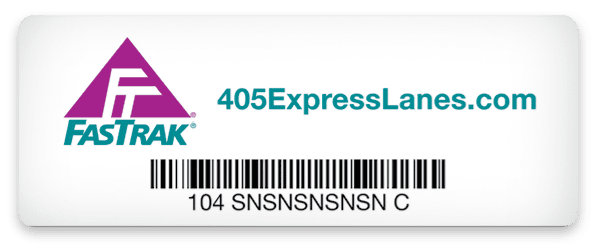
- Transparent sticker attaches to the inside of your windshield
- Sticker is free for 405 express lanes account holders
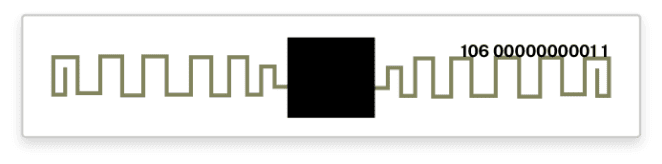
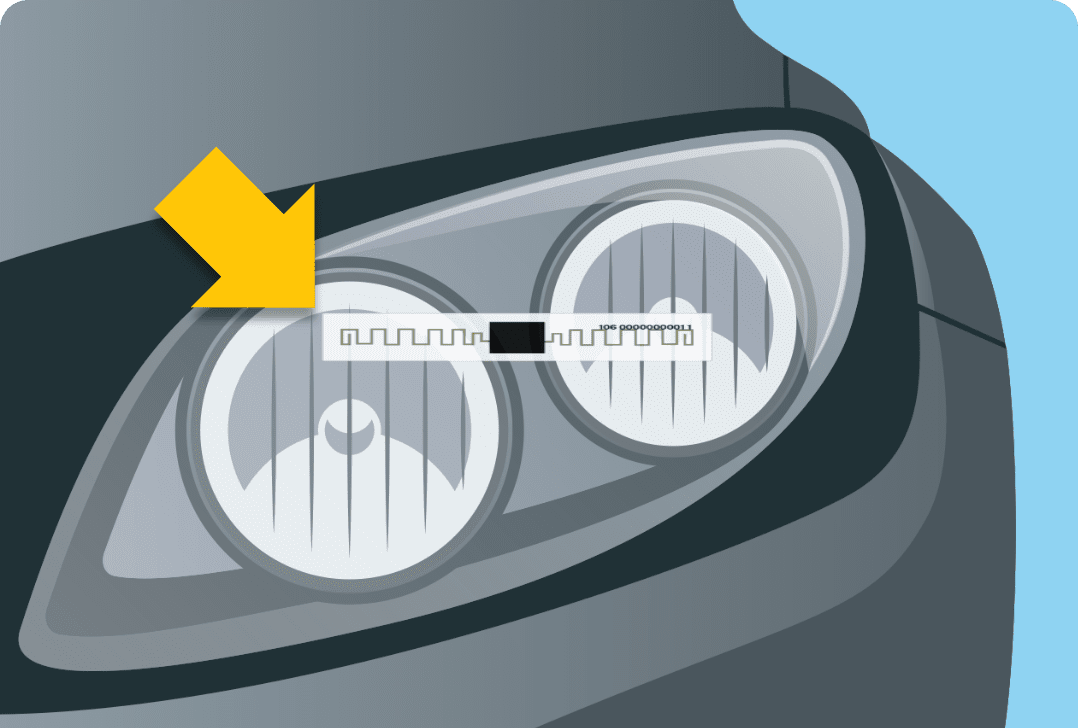
- Transparent sticker attaches to the front headlight of your vehicle
- Can be used by motorcyclists to drive the 405 Express Lanes for free
- Sticker is free for 405 Express Lanes accountholders
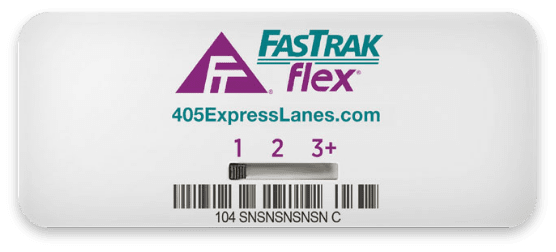
- Can be used by qualifying drivers to receive a carpool discount
- Includes a switch that allows the driver to indicate the number of occupants in the vehicle
- Can be purchased through the 405 Express Lanes for $15
How to Install
FasTrak Sticker Transponder
The FasTrak Sticker Transponder is for use inside your vehicle.

Exterior Transponder
The exterior transponder is for motorcyclists and vehicles with metalized windshields.
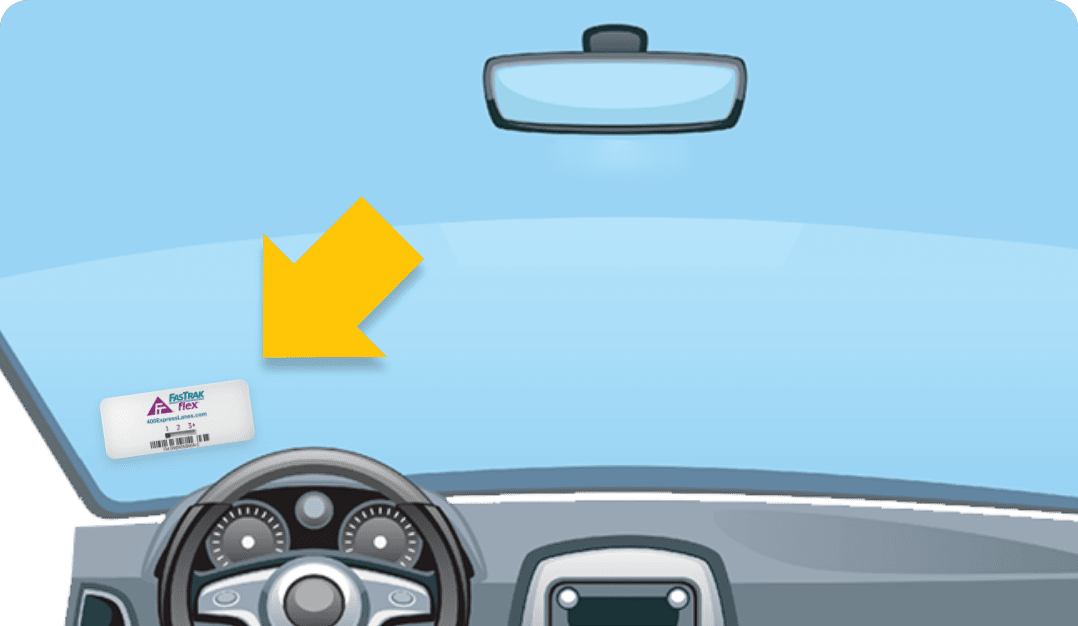
FasTrak Flex® Switchable Transponder
The FasTrak Flex® Switchable Transponder is for use inside your vehicle.
FasTrak Sticker Transponder
The FasTrak Sticker Transponder is for use inside your vehicle.
Exterior Transponder
The exterior transponder is for motorcyclists and vehicles with metalized windshields.
FasTrak Flex® Switchable Transponder
The FasTrak Flex® Switchable Transponder is for use inside your vehicle.